
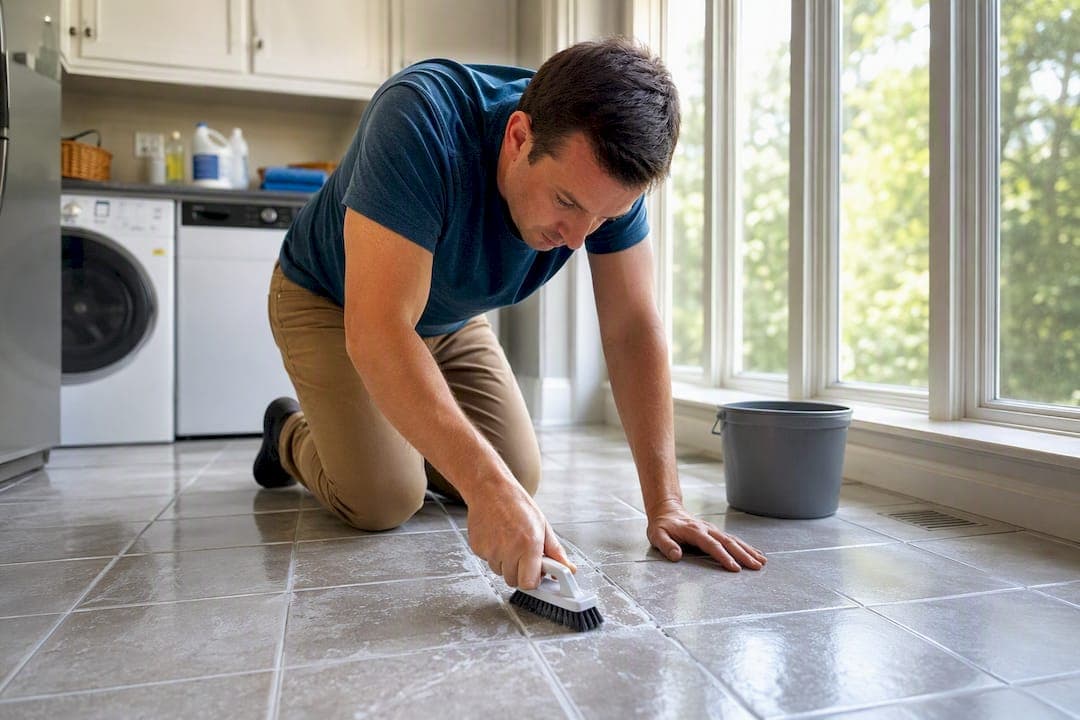
Start with the gentlest method first: a damp cheesecloth or microfibre cloth, changed often, clears most fresh haze within the first 24 hours. If that doesn't fully clear it, move to a rubber grout float, then diluted vinegar for glazed porcelain or ceramic only, and finish with a commercial grout haze remover for cured or stubborn film. Never use vinegar or any acidic product on marble, limestone, travertine, or other natural stone. When in doubt, test a small spot first and stop if you see any dulling or colour change.
- Try water and cheesecloth first (0 to 24 hours after grouting)
- Escalate to a grout float if haze persists
- Use diluted vinegar only on glazed porcelain/ceramic
- Switch to a commercial remover for cured or polymer haze
- Skip acids entirely on natural or polished stone
Key takeaways
Grout haze responds best to the gentlest effective method tried first, escalating only when needed, and acid-based cleaners should never touch natural or polished stone.
| Point | Details |
|---|---|
| Start gentle | Try damp cheesecloth or microfibre within the first 24 hours before reaching for chemicals. |
| Match the method to the tile | Diluted vinegar works only on glazed porcelain or ceramic, never on natural stone. |
| Watch the clock | Haze removed within 10 days is far easier to shift than haze left to cure and bond. |
| Know your grout type | Cementitious, acrylic, and epoxy grout each need different removers, per manufacturer TDS guidance. |
| Call in help for stone | Icleansecuc's tile and grout cleaning uses test-first, stone-safe methods for cases too risky for DIY. |
Table of Contents
- What is grout haze and why does it show up?
- How do you remove grout haze step by step?
- Which commercial grout haze remover should you buy?
- When should you call a tile cleaning professional?
- How do you spot-test and prevent grout haze safely?
- Where to check further grout cleaning guidance
- Why most grout haze advice skips the timing problem
- Get professional help when DIY grout cleaning hits its limit
- Frequently asked questions about grout haze removal
- Sources
What is grout haze and why does it show up?
Grout haze is that milky, chalky film left behind after grouting. It's mostly dried cement dust, mineral deposits, and sometimes polymer residue from the grout mix itself. It forms when grout residue sits on the tile surface for more than 24 hours, or when installers use too much water during the initial wipe-down, which spreads fine cement particles across the surface instead of lifting them off.
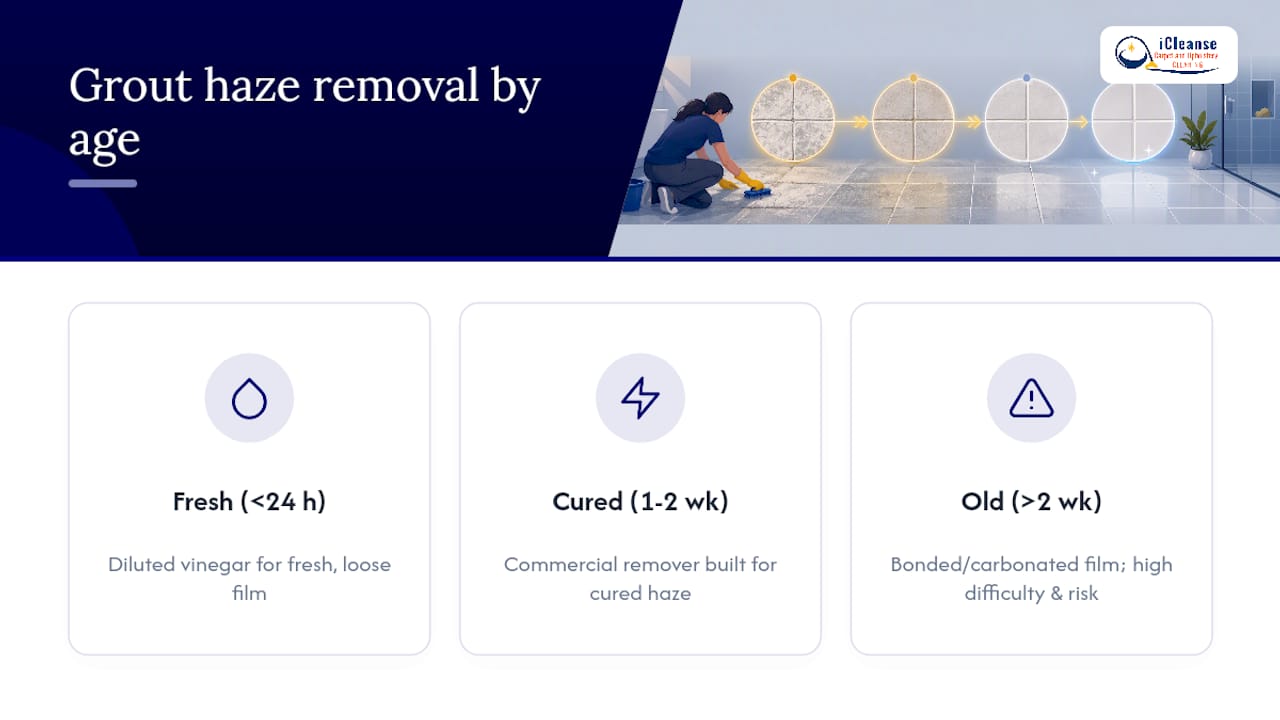
Timing matters here more than most people expect. Haze cleaned off within a day is usually still loose and comes off with basic tools. Wait a week or two, and it bonds to the tile, sometimes even carbonating into something closer to limescale.
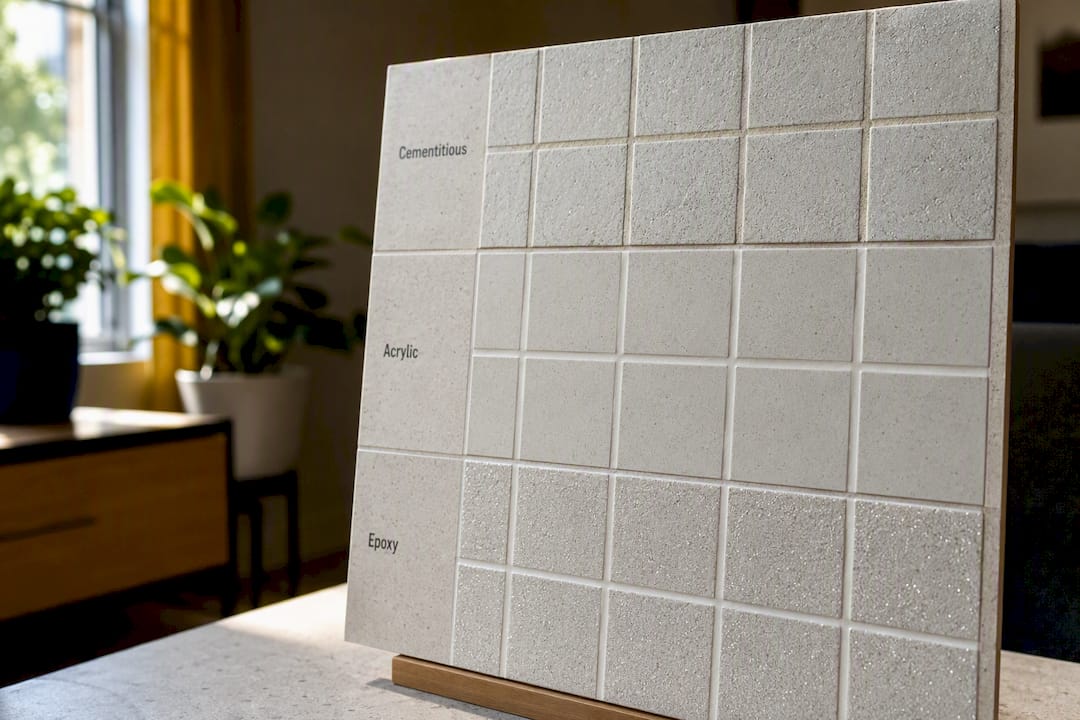
Grout chemistry plays a role too. Standard cementitious grout behaves differently than ready-mixed acrylic grout or epoxy grout, and epoxy haze in particular cures fast and resists common household methods. Knowing which type you're dealing with saves you a lot of wasted scrubbing.
How do you remove grout haze step by step?
Gather your tools before you start: nitrile gloves, eye protection, two clean buckets (one for clean water, one for rinsing), microfibre cloths or cheesecloth, a soft-bristle brush, and a white nylon pad. Skip anything abrasive like steel wool. Work in small sections, roughly one square metre at a time, so you're never letting a treated area dry out before you rinse it.
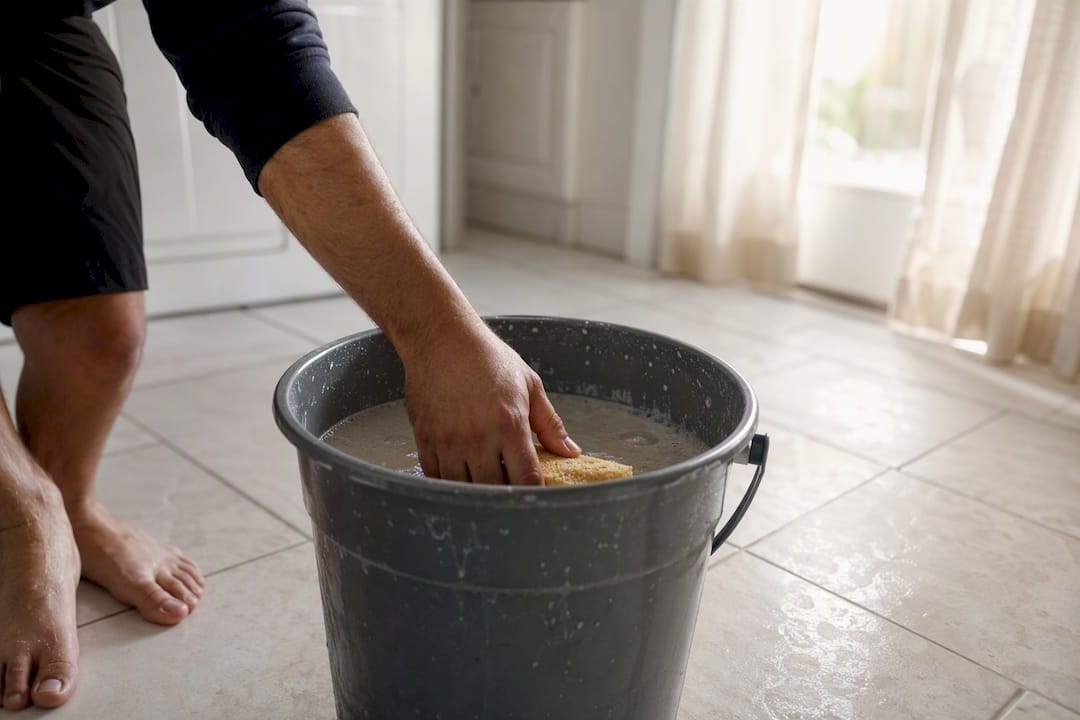
- Dry buff or damp wipe (0 to 24 hours). Wipe the tile with a barely damp microfibre cloth in circular motions, rinsing and wringing frequently. Don't soak the tile. Excess water re-dissolves grout and pushes haze deeper into the joints. Change your rinse water as soon as it looks cloudy.
- Rubber grout float. If cloth alone isn't cutting it, drag a rubber grout float diagonally across the tile at a low angle. This knocks loose bonded film without gouging the joints, but keep the float flat and avoid digging into the grout lines themselves.
- Diluted vinegar, glazed porcelain or ceramic only. Mix one part white vinegar to four parts water. Spot-test an inconspicuous tile first. Apply, let it sit for two to three minutes, then scrub gently and rinse thoroughly. Vinegar and other acids can etch natural or polished stone permanently, so this step is off the table entirely for marble, travertine, or limestone.
- Commercial grout haze remover for cured or polymer haze. Match the product's chemistry to your grout type (cementitious, acrylic, or epoxy) and follow the manufacturer's Technical Data Sheet for dilution and dwell time. Apply, monitor closely, then neutralize and rinse well.
Once you've finished, inspect the tile under raking light (a flashlight held at a low angle across the surface). This reveals faint haze that's invisible under normal lighting. If you still see a film, repeat the same method rather than jumping straight to something stronger.
Pro Tip: Work in roughly one-metre sections and swap your rinse water the moment it turns cloudy. Reusing dirty water just redeposits the same fine cement particles you're trying to remove.
Which commercial grout haze remover should you buy?
Once you've hit cured or polymer-modified haze that water, a float, and vinegar can't touch, a commercial remover becomes the practical option. This is especially true for epoxy grout residue, which sets up far harder than standard cement-based grout and often laughs off household methods entirely.
A few widely available options homeowners reach for:
- UltraCare Cement Grout Haze Remover — formulated for cementitious grout haze on porcelain and ceramic; moderate strength, good for haze that's a few days old.
- Laticrete Heavy Duty Grout Haze Remover — a stronger formula aimed at cured or heavily bonded haze; check compatibility before using on natural stone.
- Aqua Mix Cement Grout Haze Remover — widely stocked at tile suppliers, suited to general cement-based residue on hard-surface tile.
- Custom Building Products TileLab Grout Haze Remover — another cement-focused option, commonly paired with TileLab sealers for a full post-installation routine.
Always confirm the product's Technical Data Sheet and cross-check it against your grout manufacturer's own recommendations before applying anything to a full room. Wear gloves and eye protection, work in a ventilated space, and never mix removers with other cleaning chemicals. In Canada, you'll typically find these at tile and flooring suppliers, larger home improvement retailers, and specialist masonry or stone-supply distributors rather than general grocery or drugstore chains.
When should you call a tile cleaning professional?
Some situations are worth handing off rather than risking. Haze on natural or polished stone tops that list, since a wrong move there can mean permanent etching. So does haze that's been sitting for more than two weeks and hasn't responded to gentle methods, uneven or pitted grout after a DIY attempt gone sideways, and any large-area or commercial floor where trial and error gets expensive fast.
Professionals typically test a small patch first, then use buffered acids or alkaline-based systems with tightly controlled dwell times and full neutralizing rinses. For stone specifically, that often includes hot-water extraction and mechanical polishing to restore the surface, followed by sealing. Icleansecuc's tile and grout cleaning services follow this same test-first, stone-safe approach across the Greater Toronto Area.
Before hiring anyone, ask about their experience with your specific tile and grout type, whether they carry a workmanship warranty, and whether they confirm in writing that they'll neutralize and fully rinse any chemical used.
How do you spot-test and prevent grout haze safely?
Before treating a full room, test on one inconspicuous tile or an offcut. Apply your diluted cleaner exactly as you plan to use it, let it sit for the intended dwell time, then check for etching, dulling, or colour shift before touching the rest of the floor.
Keep the room ventilated, wear gloves and eye protection, and never let any cleaning solution dry directly on the tile. Cement is alkaline, and strong acids will dissolve it over time, so speed and thorough rinsing matter as much as the product you choose.
To avoid haze on future installations:
- Clean off grout residue within 24 to 48 hours using small sections and a damp-wrung sponge
- Change rinse water often during installation, not just after
- Use a grout release product on textured or porous tiles before grouting
- Seal grout on a regular schedule once haze has been fully removed
Watch for red flags: acid-sensitive stone like marble and travertine, textured or micro-porous tile surfaces, and any situation where vinegar is more likely to cause damage than solve the problem.
Where to check further grout cleaning guidance
- Tile Council of North America on grout cleaning fundamentals
- MAPEI's technical note on grout haze removal
- Always confirm dilution and compatibility with your product's own TDS and grout manufacturer
Why most grout haze advice skips the timing problem
Most grout haze guides treat every stain the same, as if a spill from yesterday and one from three weeks ago call for the same fix. They don't. The single biggest factor in how hard haze is to remove isn't the product you grab, it's how long that film has had to bond and carbonate on the tile surface.
That's the piece conventional advice glosses over. A commercial remover isn't inherently "better" than diluted vinegar. It's simply built for haze that's had time to cure, while vinegar is suited to fresh, loose film on the right tile type. Reach for the wrong tool at the wrong stage and you either waste effort or, worse, damage a surface that didn't need aggressive treatment in the first place.
If there's one thing homeowners should prioritize, it's identifying their grout's age and type before picking up any cleaner. Skip that step, and even a well-reviewed product can underperform or cause harm on the wrong surface. Get that right, and the rest of the process is mostly patience and clean rinse water.
Get professional help when DIY grout cleaning hits its limit
There's a point where cheesecloth, vinegar, and even a strong commercial remover stop being worth the risk, especially on natural stone or a floor that's been neglected for months. That's where Icleansecuc comes in as a faster, safer route than continuing to experiment with products on a surface you can't easily replace. Icleansecuc's team brings commercial-grade equipment and stone-safe, eco-friendly solutions to ceramic tile and grout cleaning jobs across the Greater Toronto Area, so you're not testing dilution ratios on your own kitchen floor.

This fits best if you've already tried the DIY steps above and hit a wall, or if you're staring down a large area where a mistake would be costly. If that's where you're at, request a quote and get a straight answer on what your tile and grout actually need.
Frequently asked questions about grout haze removal
Can I use straight vinegar instead of diluting it? No. Full-strength vinegar increases the risk of etching glazed tile and grout erosion. Stick to a diluted mix, roughly one part vinegar to four parts water, and always spot-test first.
Why didn't my grout haze come off with just water? If the haze has been sitting for several days or longer, it's likely bonded to the surface rather than sitting loosely on top. At that stage you'll usually need a grout float or a commercial remover matched to your grout type.
Is grout haze the same as efflorescence? No. Efflorescence is a separate mineral deposit that migrates through grout or stone from moisture beneath the surface, and it often returns after cleaning. Grout haze is surface residue from installation and, once properly removed, typically doesn't come back on its own.
How long should I wait before trying to remove grout haze? You can start as soon as the grout has set, generally within 24 to 48 hours. Waiting longer than about 10 days makes removal noticeably harder and increases the odds you'll need professional-grade products.
Sources
- Grout haze — porcelain tiles
- Removing grout haze from porcelain tile: safe methods that don't scratch (Bedrosians blog)
- Removing grout haze (MAPEI technical note)
- Cleaning grout | Tile Council of North America